

Let’s start with a little advice. If you get it into your head, like I did, that you want to paint your cabinets, here are a few tips:
- Don’t do it.
- See #1
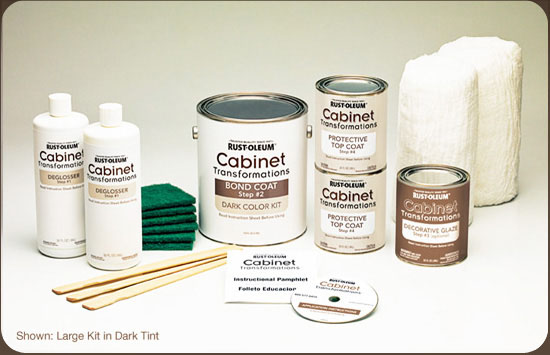 I saw a commercial and a few good reviews of Rustoleum’s Cabinet Transformations kits. It boasts no sanding, no stripping and no priming. Plus, it comes will everything you need, so mid-way through my project I wouldn’t have to make another trip to Lowe’s.
I proceed to measure my cabinets and based on the online tool, I estimated that I needed one 1 large kit and 1 small kit. In fact, that ended up being way too much. I didn’t even open the small kit and of course, they are non-refundable, so there’s $80 bucks wasted. Of course, I could still use it to refinish something else in my house. I probably will at some point when I forget what a horrible experience this was.
If I were to start the whole thing over, I would go with the way Stacy did it on her blog Not Just a Housewife. Unfortunately, I read her blog about 5 days after starting my process. 🙁 She spray painted the whole thing and it looks amazing. Follow her lead, not mine.
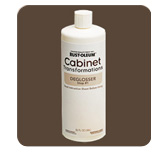 This step is supposed to prepare the surface by cleaning and roughing it up a bit.
Tip #1: wear gloves!

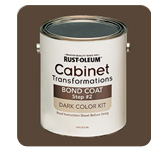
The bond coat is a creative name for the special type of paint that bonds to the surface that your painting. It is also tinted to one of the many color options from the box. I had read in my reviews that you could actually have them tint it any color, but Lowe’s wouldn’t do that for me.
-
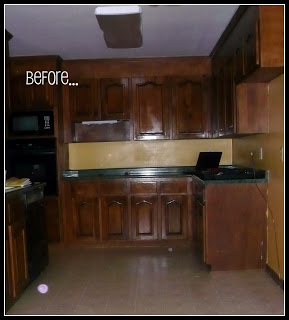
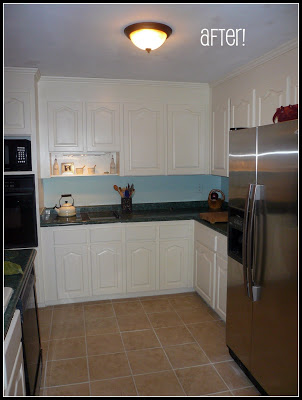
I love the finished look.
-
The kit actually did have everything I needed other than paintbrushes.
-
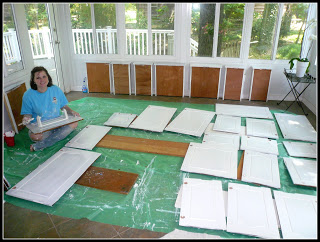
Not everyone has the perfect set-up for a major project like this. They want the doors laid on in a non-ventilated, sun-less, dust-free space. I don’t have any rooms that fit that description… my garage was currently storage for boxes and covered in dust from sawing, so Plan B was the unfurnished sunroom. A sunroom is (as the name implies) not sun-less, but it was the closest I had. Very few people have a space like what they are asking for. It’s probably why I have dust on my finished doors and now have to do touch-ups to cover it up.
-
They advertise this as a weekend project, but it’s definitely not because of how many coats must go on the doors with 2 hours in between. I have this weird habit of sleeping at nights (even on the weekends).
-
The protective coat is very difficult to work with. It goes on cloudy but dries clear. However, if you allow a drip to dry on the surface, then the drip is slightly yellowish and not clear.
We also got a grease trap in the kitchen installed by Phoenix grease trap.