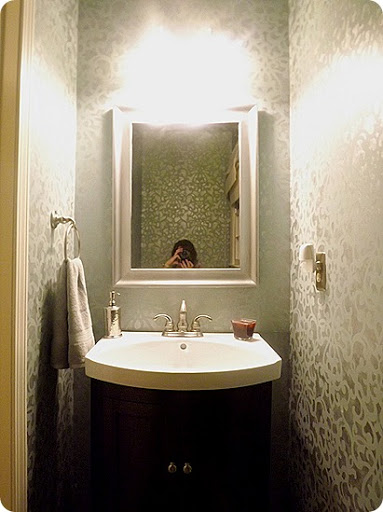
I’m so excited about the way this room turned out. Never mind that it took me like 13 hours of stenciling in a 3×7 room (seriously… I’m not exaggerating)…I think in a week or two, I’ll totally think it was worth the grueling weekend. Prepare yourself for a LOT of pictures. I apparently wanted to show you every detail of the room. Click HERE for the full tutorial on the stenciling.
BEFORE:
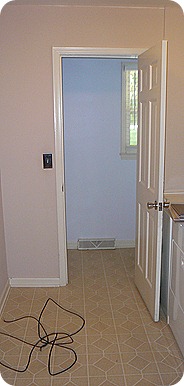
This is the only decent picture I have of the floors, because we actually tiled those in our first week in the house when we did the mudroom. You can see that post HERE
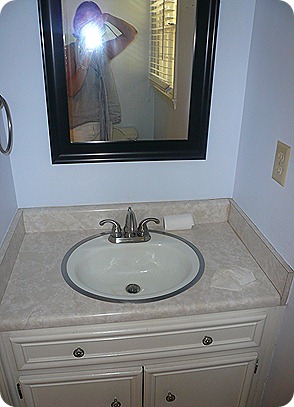
We tried to salvage as much from the room that we could. The old vanity became a new workbench in the garage with a beautiful plywood top. However the old sink had to go:
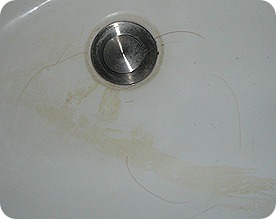
I tried everything to get those stains out of the cracks… it was disgusting. Its also probably original to the house which is 30 years old. I figure it’s lived a good life.
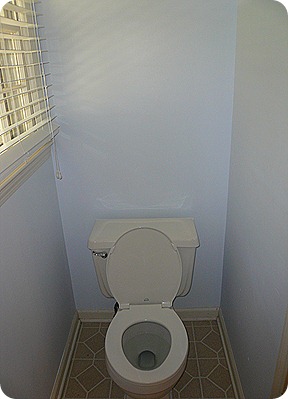
and a toilet… not much to say about that, except that it would have been great for me to close the lid before I took this picture.
We did end up replacing the toilet with a new one because when we removed this one to install the tile, the bottom might have chipped off. And when I say chipped, I mean smashed.
OK… here’s the moment you’ve all been anxiously waiting for (biting your nails, sitting on the edge of your seat… I know, I can feel your tension through my computer):
AFTER!
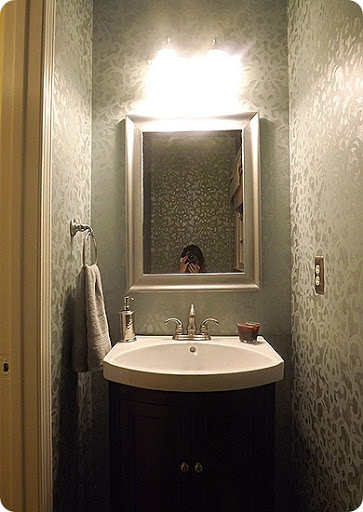
I haven’t figured out how to take a picture of a mirror without capturing myself in it…
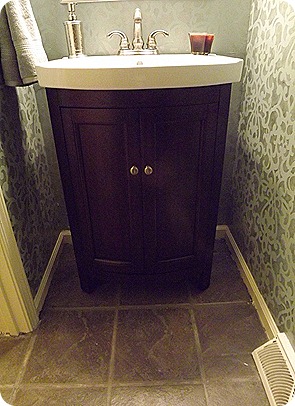
Look at my husband’s beautiful floors. I love the color of the gray tile with the walls. Here’s a better shot of the stenciling and a close up. I really like the way the silver paint reflects the light and catches it in some places but it’s still subtle (in my humble opinion).
The stencil is Royal Design Studio’s Donatella Damask.
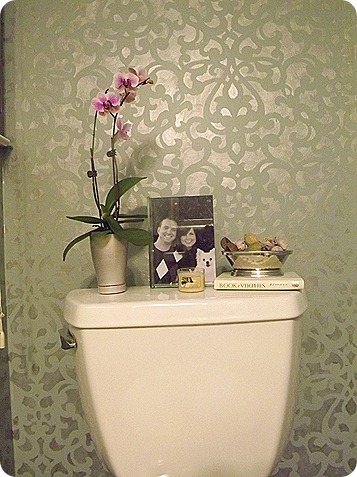
Wasn’t it so nice of Lowes to have a tiny little orchid pre-planted in just the right vase? It was $9.99 so I had to snatch it up. I got the frame and silver potpourri dish from Marshalls this week ($12 for both).
Like I said, we tried to reuse as many fixtures and things as possible. The mirror and trashcan were both Rub n Buffed. That was my first experience with Rub n Buff and I’m addicted. I seriously walked around my house last night with the rest of my tube looking for other things to silver. It’s totally my kind of DIY… immediate gratification. The mirror took me about 15 minutes and the trashcan took 5. Perfect.
MIRROR BEFORE: MIRROR AFTER:
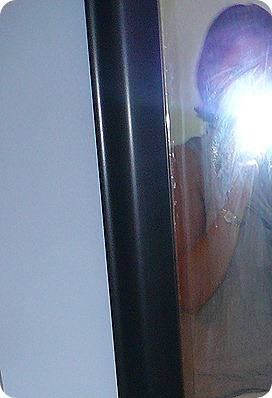
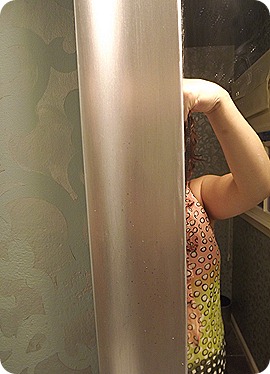
TRASHCAN BEFORE: TRASHCAN AFTER:
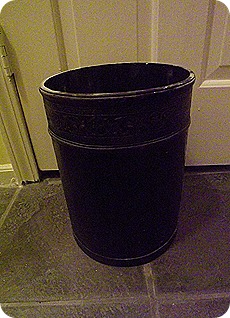
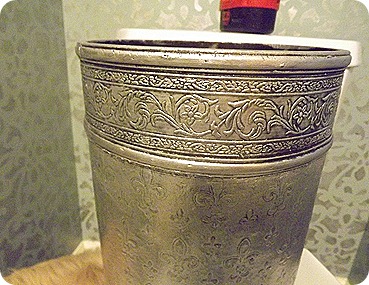
This trashcan is one of those things that I have no idea where it came from. I don’t think I bought it, but it doesn’t really seem like something John would have had in the bachelor pad. Anyway, I wanted a silver trashcan for in there and I really like the way the Rub N Buff brought out the details on the outside. I didn’t really know that it had it.
We also reused the existing light fixture, the faucet, hand towel holder and toilet paper holder. Not bad, huh?
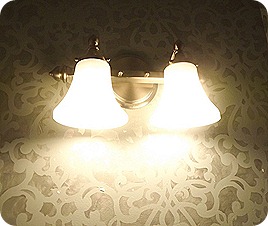
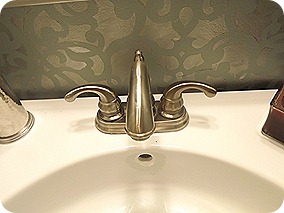
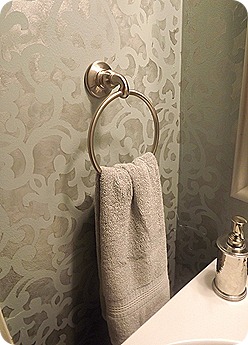
What do you think about the gray hand towel? I picked it up from Marshall’s yesterday for $6.99. It’s really the only color that works in there. I can’t go with white because the trim is ivory and I can’t go with blue because there’s no way I’m going to find an exact match for that grayish blue.
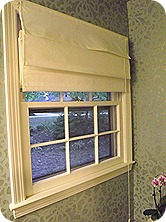
This might be my proudest moment. I finally conquered the drill. I drilled the holes, hung the mounts and hunt the shade all by myself. I know it doesn’t sound like much, but I’ve always been a little scared of drilling holes into things.
We also decided to repair the stucco of our house. We called a reliable stucco repair company to fix it.
That’s it. My beautiful new powder room. Click HERE for the full tutorial on the stenciling.
