In case you missed my guest post last week at J&M Eye Candy, I wanted to show you the fun fall wreath I made a few weeks ago.
Most of you know that I LOVE blogs, Pinterest, crafts, DIY (most of the time), free stuff and FALL. Put them together and what do you get?
My Fall Walnut Wreath!
I found my inspiration on Pinterest:
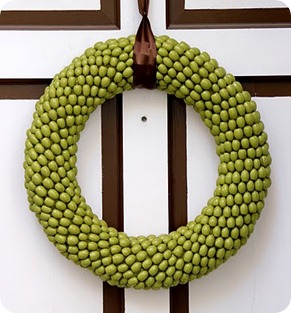
This is by Katie at Little Things Bring Smiles and hers was made out of acorns. It’s so happy but still says FALL all over it (and how stinkin’ awesome is that door?) But remember how I like free stuff? Yeah, I don’t have any free acorns, but I have WALNUTS coming out of my ears:
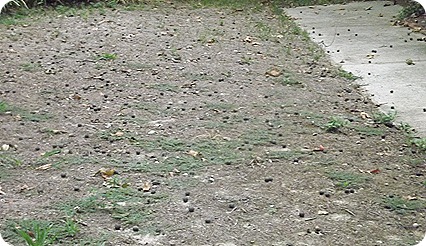
All those black dots on the dead grass are walnuts. Hundreds upon hundreds of walnuts. NOT KIDDING.
Please don’t judge me based on the condition of my yard. We moved in after the point in the summer that we could do anything about it… and then we might have forgotten to water for the majority of the summer. That’s the learning curve when you come from a townhouse where there is no yard work. So we’ve had to wait until now to start to fix it. We’re about to aerate and reseed (no fun at all).
Anyway, ignore my tangent. Back to the wreath:
Materials:
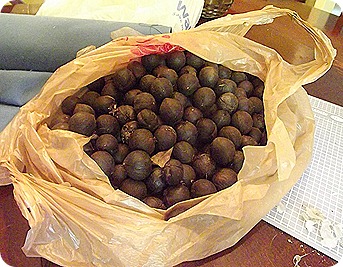
LOT OF NUTS, whatever kind you like or may be covering your yard like a blanket. It took about 150 nuts to cover my wreath form
14” wreath form (you can use straw but I used foam because it was on sale)
hot glue
Spray paint in your color of choice
Wire Edged Ribbon
1. You can bake your nuts to make sure that the buggies inside are dead. I didn’t because I knew that the 3 coats of spray paint was going to do that.
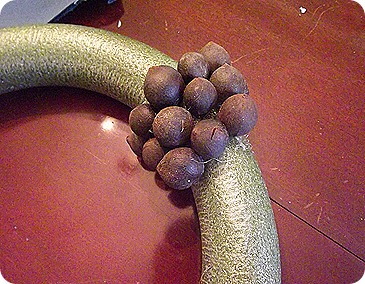
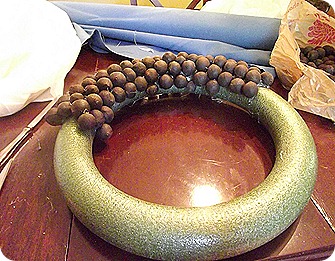
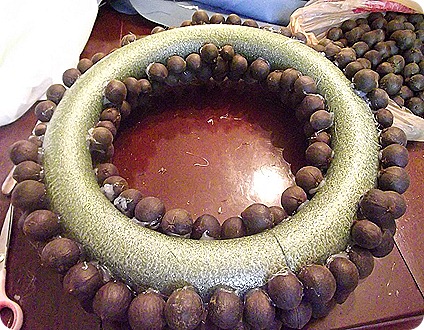
2. Glue the nuts to the form using the hot glue. It’s easiest to do one side first, but it would probably be more uniform if you go all the way around.
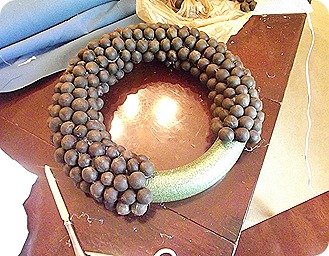
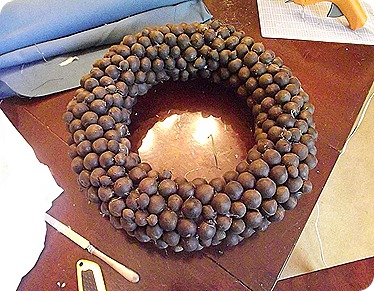
3. Start gluing the nuts to fill in the gaps left by the previous row. This becomes a bit of a puzzle. Unless you have perfectly uniform nuts (probably not), then you’re going to have some that are smaller and some that are larger. There will be small gaps. It’s ok.
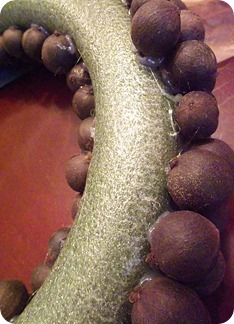
4. Flip it over and start on the next side. This really gets tricky because you have to find just the right nut to fill in the last gap between the two sides. Thankfully it’s the back and you don’t really have to worry about people seeing it to much (unless you have a glass door like me).
5. Fill in the gaps with small nuts or hot glue if it’s really small. You just don’t want it to be a deep hole.
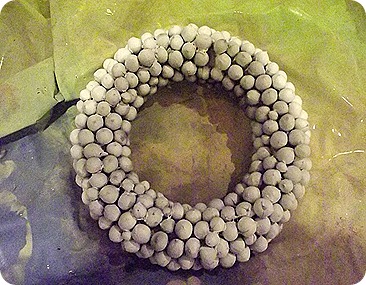
6. Prime the wreath.
Doesn’t it kind of look like I made a wreath out of pearl onions? Note to self: Don’t make a wreath out of pearl onions. It’s not cute.
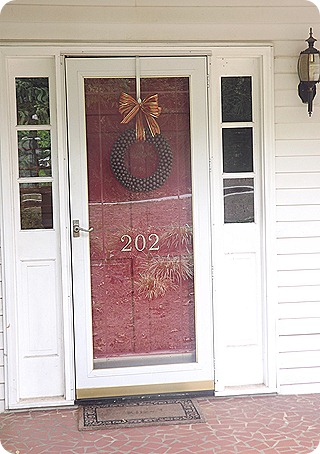
7. Spray paint wreath. I went with brown because my house is white and my door is red. Green would have looked to Christmas-y and a burnt orange would have clashed with the door. Are you wondering why I even bothered painting it? Me too kind.
8. Create a loop with the bow to go around the wreath. The wreath will be too fat to hang on a normal wreath hanger. Create a bow to cover up the hanger.
ENJOY!
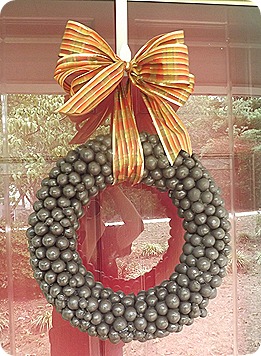
It’s a super simple project, even though it’s a little time consuming. Just pop in a good movie and glue away. I love the finished product!
 This is by Katie at Little Things Bring Smiles and hers was made out of acorns. It’s so happy but still says FALL all over it (and how stinkin’ awesome is that door?) But remember how I like free stuff? Yeah, I don’t have any free acorns, but I have WALNUTS coming out of my ears:
 LOT OF NUTS, whatever kind you like or may be covering your yard like a blanket. It took about 150 nuts to cover my wreath form