Last week, I was visiting one of my favorite blogs, Bower Power, and I saw the information about their Pinterest Challenge!
The purpose is to get us to stop just pinning everything and actually make something that we’ve pinned. It’s being hosted by four fabulous bloggers: Bower Power, Young House Love, Ana-White and House of Earnest. I immediately knew what I wanted to make. My best friend told me about a jewelry frame that she’d seen on pinterest that she was making a couple of weeks ago. So I went to look it up and this is what I found:
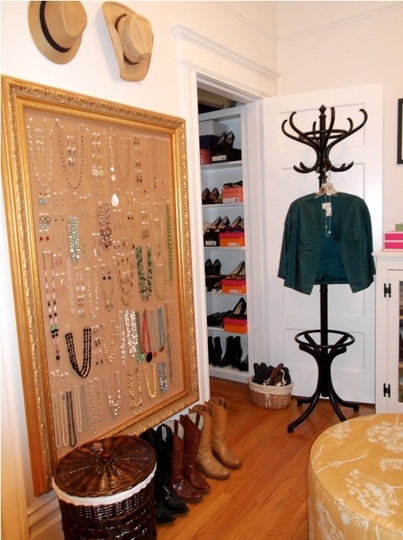
It was on Apartment Therapy’s blog and it’s awesome. Unfortunately, I don’t have a walk in closet or an entire wall to devote to Jewelry. I decided on a smaller version of it, but it definitely solved a problem. This is what my jewelry box looked like yesterday:
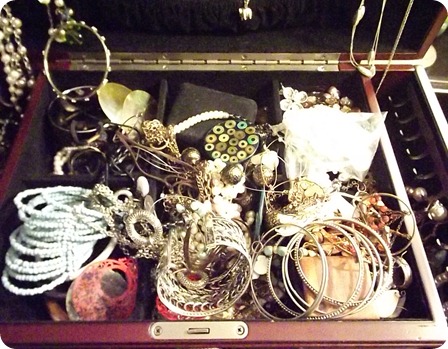
Embarrassing, right? Ever since the move, I haven’t been able to find a place to set up my earring trees which is where they hung before. So they’ve stayed in my jewelry box and every morning I try to (1) find a matching pair, which is difficult and (2) untangle them from the bracelets, other earrings and chains that they are wound around. Super fun.
TUTORIAL
Here’s what you need:
Picture Frame (Hobby Lobby, $11)
1/2 yd. Burlap (Hobby Lobby, $3.99/yd)
Staple Gun
Fray Check
Fabric ChalkElmer’s Craft Spray Glue
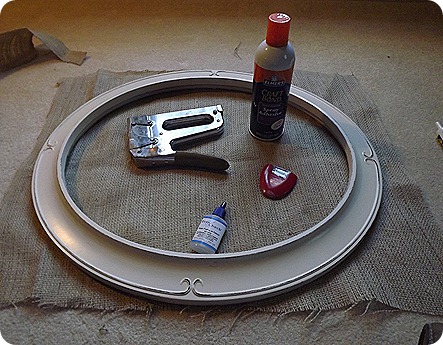
1. I found the picture frame on clearance at Hobby Lobby. It was black and gold, I spray painted it, distressed it a little and pulled the back off.
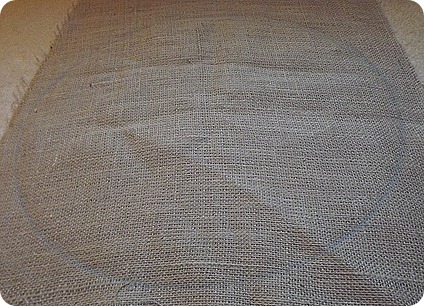
2. Use the chalk to outline the burlap to fit the frame. Cut it out.
3. Go outside and do a coat of the spray glue on to the frame. Let it dry for 1 minute before applying the burlap.
4. Starting on one end, stick the burlap to the frame. Pull it as tight as you can get it so that when you put the jewelry on, it doesn’t sag. When you get to the frame hangers, cut the burlap around them before securing them down:
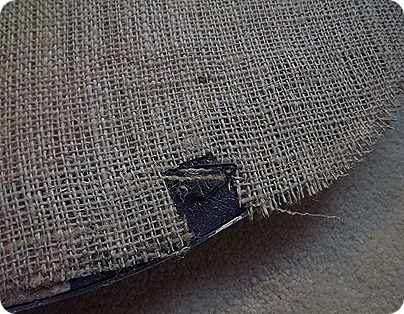
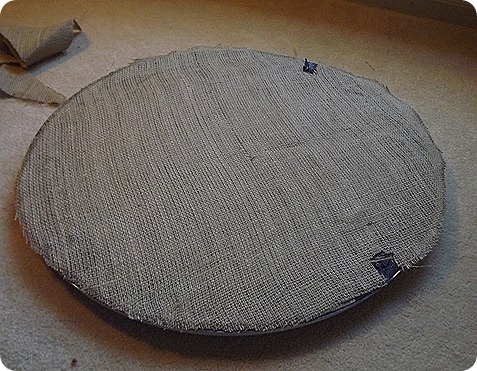 5. When you pull the burlap tight, it will make it bigger than you need it and hang off the edges of the frame. Cut off the excess.
6. Apply “Fray Chek” to the edges of the burlap to stop the fraying.
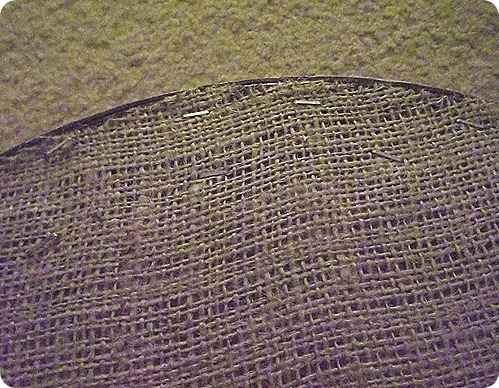
7. Staple lots around the edges of the frame and burlap. I did two rows of staples spaced about 1-2 in. apart.
8. Hang and enjoy!
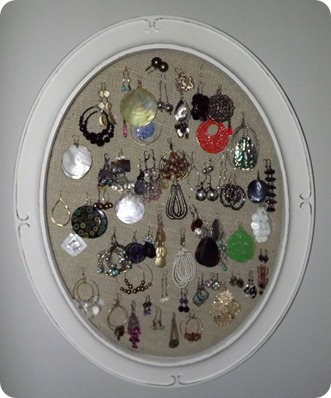
Here’s the finished product:
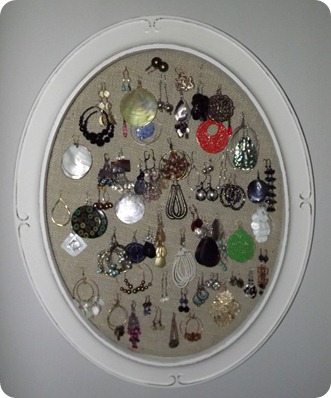
Yes, I know I have too many earrings. Total Cost: $14
This is the best part… my jewelry box now looks like this:
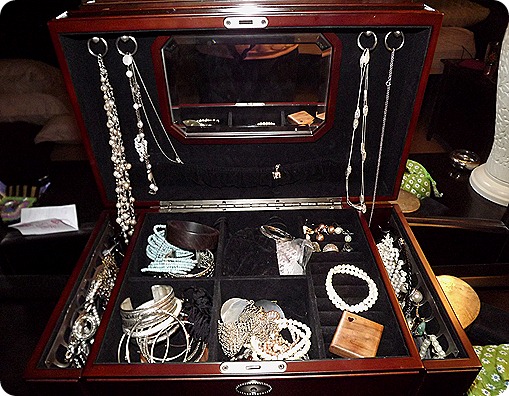
So much better!
