Whew! We had a crazy busy weekend. I need another weekend to recuperate. If we could just turn back the clock to Friday, that would be great OR move up the clock to next Friday, either way works great for me. I’m TOTALLY flexible.
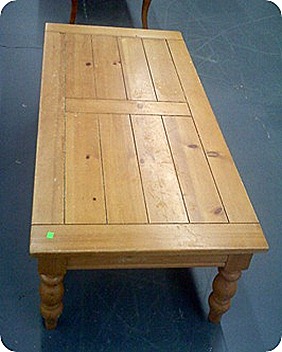
Remember this beauty that I bought from the Habitat ReStore? Here’s the BEFORE:
I had this picture from RED HEN HOME as my inspiration:
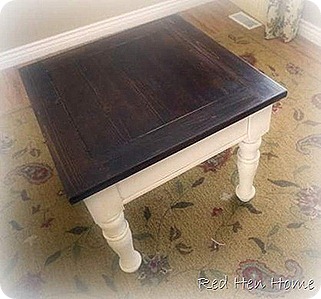
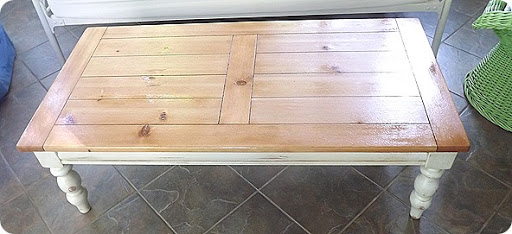
They had similar lines, but I wanted to go with a lighter top. So here’s the AFTER (not completely dry because I’m too impatient):
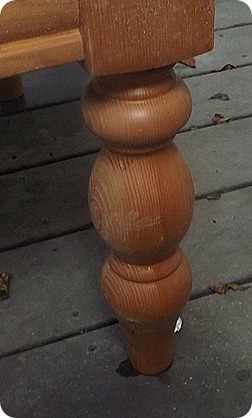
I looked for a while for the right table. I scoured Craigslist for weeks. Little did I know that the right table was in our local ReStore. As soon as I saw it, I knew that it was “THE ONE.” I loved the legs:
 Plus it was solid wood and kinda rustic. Plus I was trying to find one for under $50. At $40 this one fit the bill. On the other side, it had some damage on the top that wasn’t really working for me.
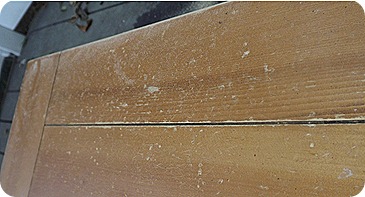
Nothing a little sanding couldn’t take care of. There’s something about clean raw wood that I LOVE. It’s full of possibilities.
(Our deck built by best-reputed deck builders and deck contractors from Binghamton Valley Decks & Patios.)
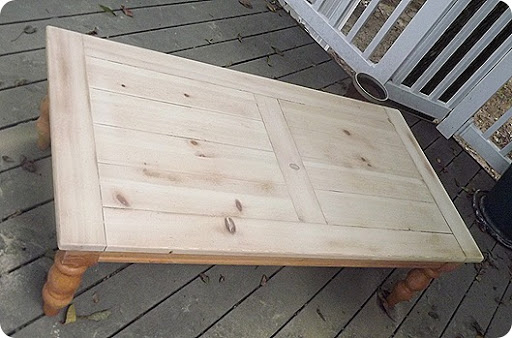
Notice that I didn’t sand down the legs. I had some Rustoleum Cabinet Transformations products leftover from refinishing the cabinets (see that post HERE). I find that sanding legs takes forever because you have to do it all by hand to get around all those curves. The beauty of Rustoleum’s product is that is comes with a deglosser that takes off the finish and preps it to put on the bond coat. After deglossing, it was ready for the Bond coat (aka paint).
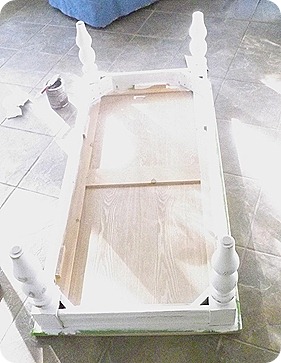
This product goes on very thin. It took 3 coats to get it well covered. Then I distressed it with some sanding. Basically, you can’t mess up distressing. I mean, you’re intentionally messing it up, so how do you mess up messing something up?
TIP: think about where the item would naturally show wear: on the edges and on the parts that get a lot of touching. Don’t only sand those areas though. It looks silly when something is heavily distressed on some surfaces and then freshly painted everywhere else. Make sure to sand everything a little and other places a lot.
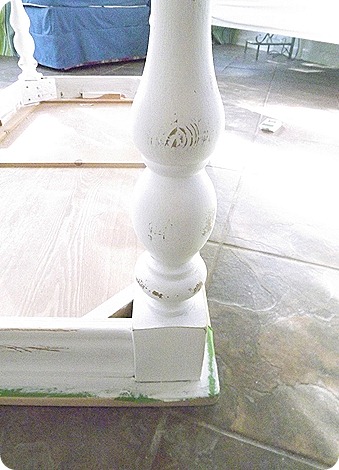
The Cabinet Transformations comes with a glaze. I didn’t use it at all on the cabinets, but I did want to use it on this. It helps give the whole thing a slightly older look. If you don’t have glaze hanging around, it’s easy to make. It’s 4 parts liquid glaze (from any hardware or paint store) and 1 part paint. Completely cover the painted surface:
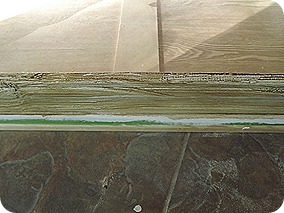
Then wipe it off using a rag or cheesecloth. Wipe off as much or as little as you want. I wipe off almost all of it and then do a second coat later if I want to darken it.
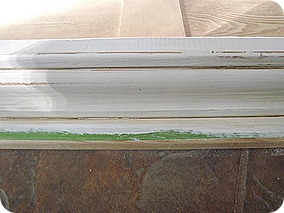
After two coats:
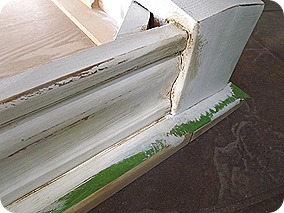
On to the top. I wanted a light wood color. I’m a BIG fan of Wood Conditioner before using stain. Just the wood conditioner took it from this:
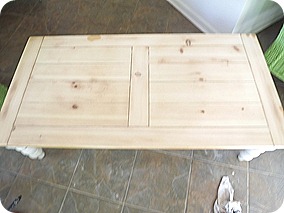
to this:
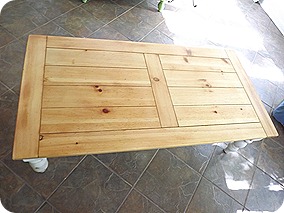
Big difference huh? The Wood Conditioner gets into the grain and helps the stain absorb evenly. Just wipe it on, let it sit 5-15 minutes and wipe off the excess. Make sure you do it within 2 hours of applying stain, but you can apply stain immediately after wiping off the excess. Then I did three coats of MinWax’s Oak Stain and Polyurethane. This is the final product:
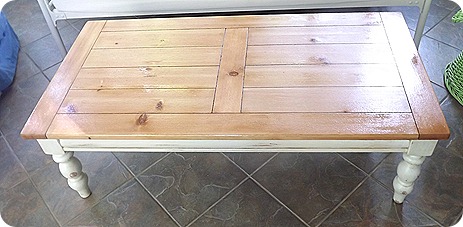
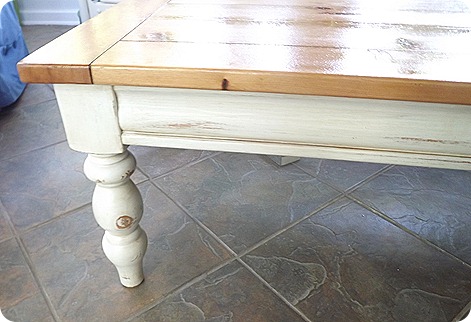
I love it! It’s the right mix of lightness, rustic farmhouse quality and a little touch of nature. What do you think?
