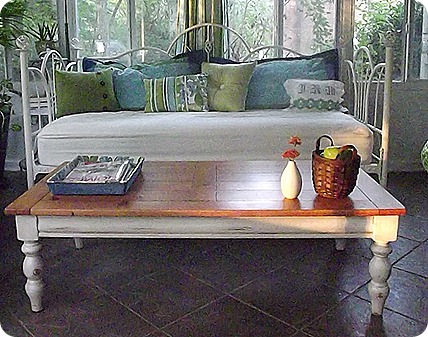
So I had a rough night… we had a lawn company come by and give us a quote for Aerating the lawn. Apparently, they left the back gate open and my dog got out. I didn’t realize she was gone until about 25 minutes later. I thought she was gone for sure… thankfully, she was distracted by a dog about 3 houses down. My dog is a little ADD. Her first taste of freedom and she gets distracted within a few hundred feet of our house.
Then I managed to clog up the drain with lots of potato skins. That was A LOT of fun to dig out of the drain. Thankfully, my sweet husband did most of the gross stuff. It’s ok… he gets to enjoy the potato soup I’m making for him tonight.
All that to say… I didn’t get to finish my current project (maybe tonight). I’ve been wanting to show you this one that I did over the weekend anyway…
After I finished the Coffee Table Makeover (see post HERE), the table looked awfully plain:
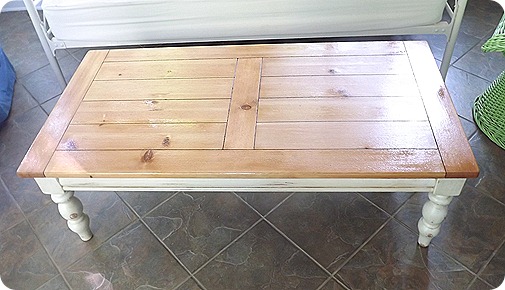
She was crying out for some pizzazz… some pop… some umph… you get the idea.
When I saw this on Pinterest (follow me HERE), I was inspired:
It’s a Martha Stewart craft using nothing other than spray adhesive, fabric and a cookie tray… SERIOUSLY! That’s totally in my budget, especially since I already had the fabric and adhesive. I knew I wanted more of a magazine holder, so I used a pan with higher sides. Unfortunately, that made the project slightly more difficult. I’ll explain. Here’s the finished product:
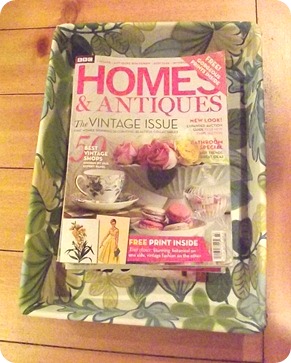
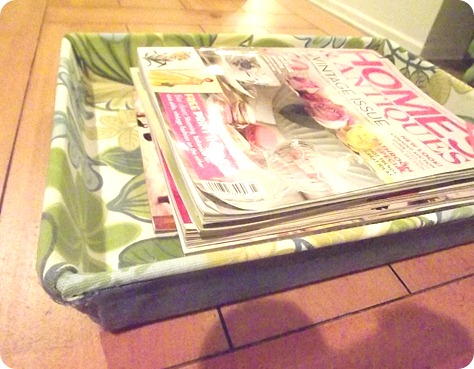
Here’s what you need:
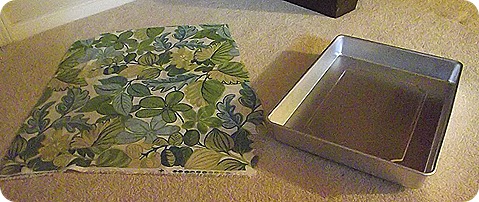
1.5 yrds of fabric OR 1 yard each of 2 cordinating fabrics (less if you’re doing a smaller tray)
Cake pan (mine was 13x9x2; Martha’s was more of
Adhesive spray (I used Elmers)
Felt sheet (Got it from Michael’s for .69 each)
Liquid Stitch (it’s a fabric glue that I already had – AMAZING PRODUCT. Makes hemming or iron-on hem tape look completely stupid.)
Martha did it slightly differently. She covered the entire tray with a single piece of fabric. I covered the top of the tray in one fabric and the sides/ bottom in another. With my taller tray, it caused more wrinkles in the top piece at the corners and looked strange when I tried to pull it all the way over the side and onto the bottom. With a slighter curve to the sides, this wouldn’t be as much of a problem.
1. Full spray the bottom and inside sides of the pan with the adhesive. Let it sit for 30-40 seconds and get very tacky.
2. Position your top fabric as centered over the pan as possible. Starting at the top, press it into the two top corners first, then press down the center and then the bottom two corners. Do all of the bottom and the corners before connecting it to the sides.
Sorry that I don’t have many pictures of this step… definitely a two hand step.
3. Press the fabric up the sides and over the top (spray a little adhesive around the lip if you didn’t get that before). You’ll have some excess in the corners. That’s ok, just make sure the sides are smooth.
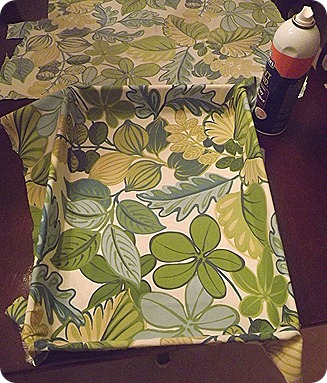
4. Cut off the excess just under the lip. Give yourself a little allowance. Now flip it over and spray the bottom. DON’T SPRAY THE OUTSIDE SIDES YET! Press your second fabric on the back.
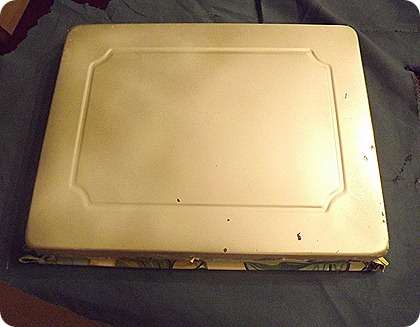
5. Now starting on one of the shorter ends, press the fabric up the side (still not sprayed) and figure out where you want it to stop. Trim the fabric leaving a .25 – .5 allowance:
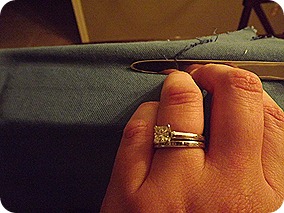
6. Using the Liquid Stitch, hem the top so that it’ll end just under the lip of the tray.
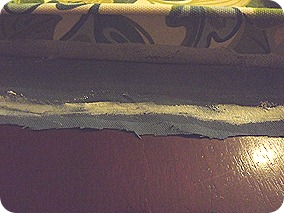
7. Now spray that side and press the fabric up, so that you have a clean edge:
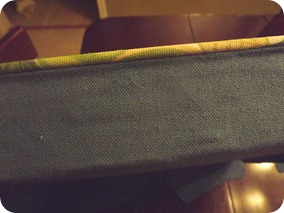
8. Do it again on the other short side.
9. Now, it’s time for the long sides, you’ll need to fold the fabric like you’d wrap a present or hospital corners on a bed:
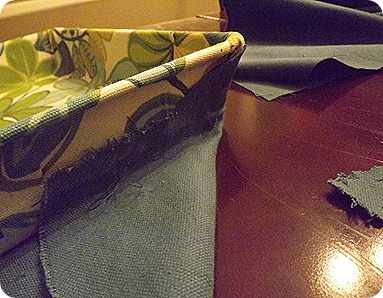
10. Glue that piece down and cut off any excess. Now repeat the process we did for the short sides to cover the area that you just folded.
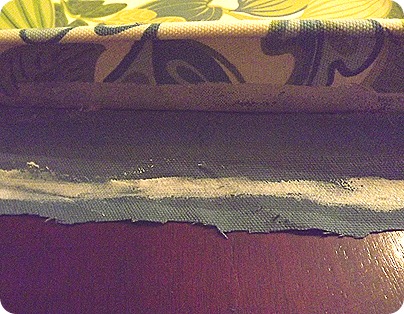
Wasn’t that a nice smooth cutting job? The corners will look like this when it’s done:
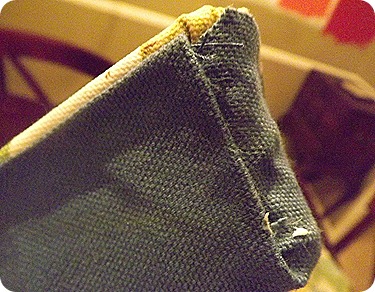
I used a little hot glue to keep the bulky edge down.
11. Now spray a little adhesive on the bottom of the tray onto the fabric. Press the felt down on the adhesive. This is kind of an optional step, but it helps the tray to slide easily and not wear down the fabric.
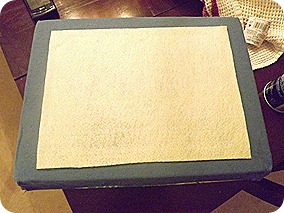
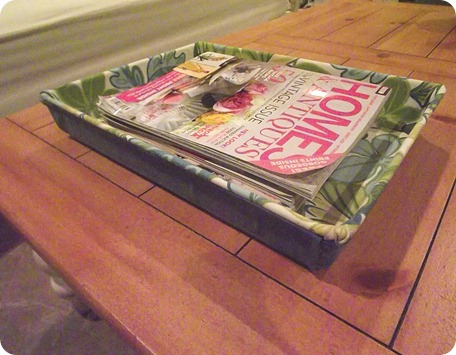
I know that seemed like a crazy amount of steps, but it was actually pretty easy. The hardest part is getting the fabric to lay smoothly on the inside. Once that’s done, you’re pretty much done. Plus my coffee table looks much happier. Perfect for a sunroom where LOTS of time will be spent pouring over magazines.
Total cost: $11 ($10 for pan and $.69 for felt)
