GIVEAWAY: Don’t forget to enter the Royal Design Studio Stencil Giveaway!
How was your weekend? I spent the weekend celebrating with my future sister-in-law (just two more weeks!) and we were up in the North Carolina mountains. What a perfect way to bring in the fall! We had beautiful weather with crisp breezes and chilly evenings.
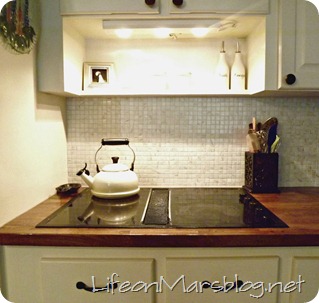
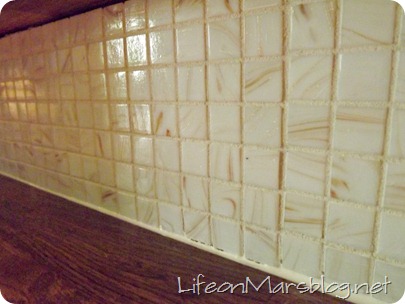
A few weeks ago when I did my kitchen makeover, I promised to do a tutorial on the backsplash. This process was so much easier than I expected because of a secret weapon which I’ll share with you today.
We bought our tile from Home Depot for $4.99/sq. ft. I always buy extra tile since you can take it back if you have leftovers. I bought 35 sq. ft but took back 7, so I ended up spending about $140 on the tile. Here’s what I used for this project:
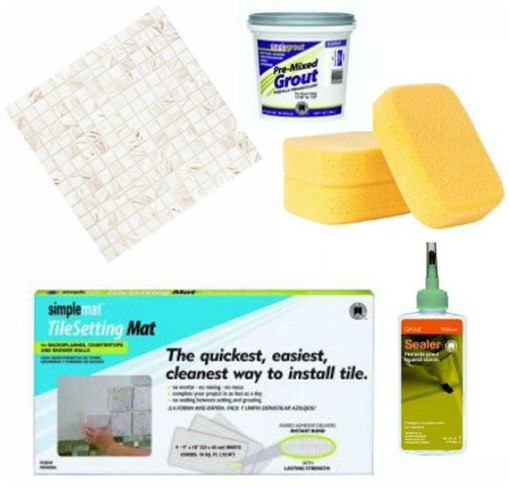
- Tile
- Tile Setting Mat
- Premixed Sanded Grout
- Sponges
- Grout Float (not pictured)
- Grout Sealer
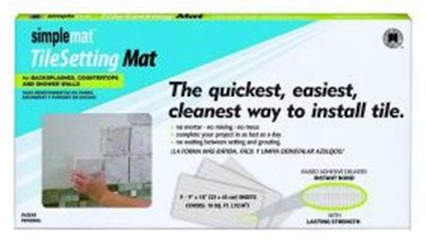
Here’s the secret: these tile setting mats (available at Home Depot) were pricey but worth every penny in my opinion. They are $20 for 10 sq. ft. and I managed to use just 2 boxes. I used 27 sq. ft in tile, so I’m pretty sure that it covers a little more than what the box says. These mats are essentially a sticker with two types of adhesive (one for the wall and one for the tile) and it completely replaces mortar.
BENEFITS: it’s quick, easy, and mess free. Mortar is hard to work with, messy and you have to be careful that it doesn’t start to dry before you get the tile up. The only negative in my opinion is that it’s more expensive than mortar.
NOTE: SimpleMat Tile Setting Mats are only approved for backsplashes, countertops and shower walls. Do not used on floors.
STEPS:
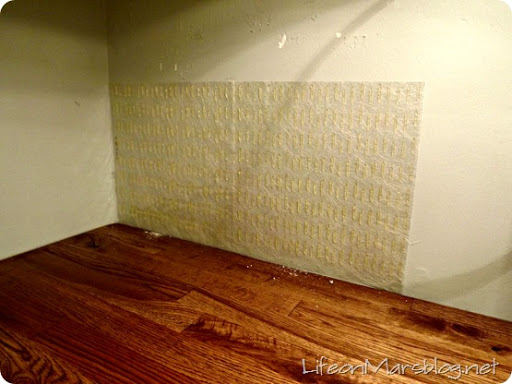
1. Peel off the white side of the tile setting mat (leave the clear side on until you are ready to place tile) and press to the wall.
Be VERY careful to place it exactly where you want it. It really doesn’t want to come off once it’s on the wall. It pulled my drywall off the couple of times that I did. Use the grout float to push out any air bubbles and make sure that it’s complete adhered.
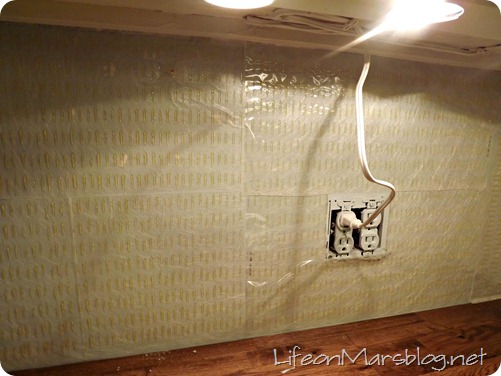
2. I put up all the adhesive before moving to tile. It will be fine as long as you leave all the clear plastic on the top. Be sure to cut out holes for outlets and any other things you might need to work around. The adhesive cuts VERY easily with a razor blade or sharp scissors between the rows of glue dots (you can see those in the picture above). Try not to cut through a dot. It wont mess up the adhesive, but it will mess up your scissors (they get very sticky).
TIP: Save your scraps because at the end I was able to use all the scraps to finish the last section so that I didn’t have to get an extra box.
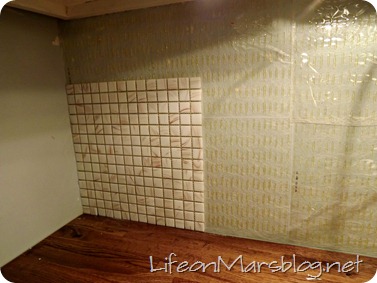
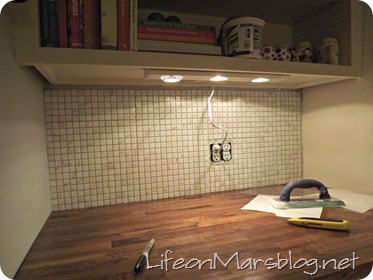
3. Add the tile. Pull off the clear plastic in sections and place tile against glue dots. Again, be very careful with your placement. This is a little more adjustable than the first step. Don’t push too hard on the tile until you are confident in the placement. Once you like it, push the tile into the glue.
If you are using mosaic tile on a mesh backing (like the above), just cut through the mess as needed with a razor blade. Super easy.
4. Here’s the beauty of the Tile Setting Mats: You don’t have to wait for mortar to dry before applying grout. I did it all in a single night. Use the premixed grout ($10/can) and the float to fill in the lines. You want to really push it into the cracks (which was a serious workout for my arm and shoulders).
You can mix your own grout if you want and save a few bucks, but again, I was more interested in speed, simplicity and mess on this project.
Note: You will use more grout than you think because there are so many cracks with mosaic tile. I used 5 cans of premixed grout.
5. Use a damp sponge to wipe down the grout. You want to make sure you get the sand off the tiles.
6. Let dry for at least 24 hours. Use a kitchen sponge with a scratchy side to clean tile. You want to get all the grout haze removed.
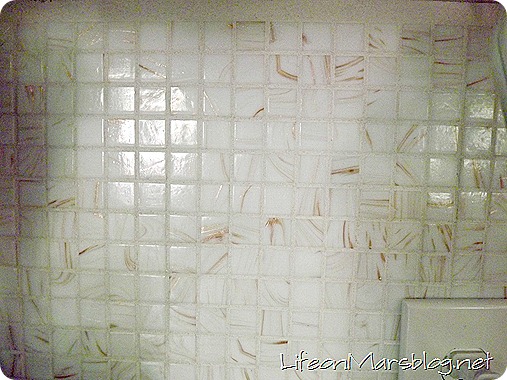
7. After grout has dried for 48 hours, apply the grout sealer. It’s pretty self-explanatory. The bottle has a brush, squeeze as you wipe over the grout. Let dry 30 minutes and apply a second coat. Wipe it down.
That’s it! Here’s the breakdown:
Adhesive: $40 and about 45 minutes for install
Tiles: $140 and about 1 hr for install
Grout: $50 and about 2-3 hours for install
Cleaning: $3 for sponges and about 1 hr
Sealing: $10 and about 30 minutes
Total: $243 and about 6 hours
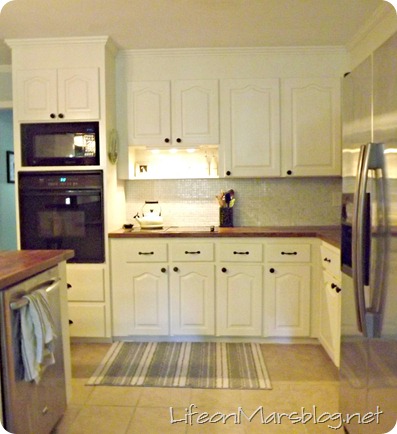
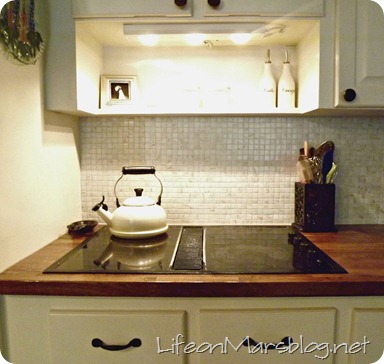
Simple, fairly quick and it makes a huge difference:
We also got a grease trap installed by Houston grease trap.
