I’m in the middle of about 16 dining room projects right now:
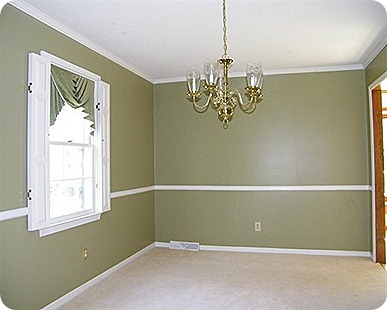
PROJECT LIST:
-
- Paint walls – STARTS TONIGHT!
- Paint trim
- Paint ceiling
- Install wainscoting – half way
- Update chandelier
- Remove popcorn
- Paint ceiling – half way
- Purchase 2x upholstered chairs for table ends
It’s called Cinnamon Spice. It’s actually a pretty great compromise since he wanted red and I wanted burnt orange.
My mom is amazing and she helped me finally gain some vision for the room this weekend. We found the curtains at World Market (where else?) and from there the room is practically decorating itself.
We finally decided on a wall color… and just like John asked (see HERE for post)… it is BOLD. We’re pulling the rusty red color out of the curtains (which is kinda hard to see in that picture). It’s called Cinnamon Stone and it’s the perfect compromise for us. It’s right between the red he wanted and the burnt orange I wanted.
However, before all that fun can happen, we had to take down the popcorn. I was seriously dreading this. It’s what I call a“CLEANING THE TOILET” project. NO ONE one will notice that you do it, but EVERYONE will notice if you don’t. Other tasks in this category:
puttying, laundry, paint touch ups, I’m sure you can think of others…
On the upside, I think it was the first project in the new house that has been EASIER than I expected. It practically fell off the ceiling!
Here’s what you need:Spray Bottle of water
Large Putty knife or something to scrape with
Carpet protector
Drop Cloths
Sand paper
1. By far the most important part of this process is prep. It’s extremely messy. I don’t love my carpet but I don’t want to destroy it either. We bought carpet protectors from Home Depot. We used THIS ONE. Make sure the entire carpet is covered. This stuff was a pain to put down. Like working with sticky Saran Wrap.
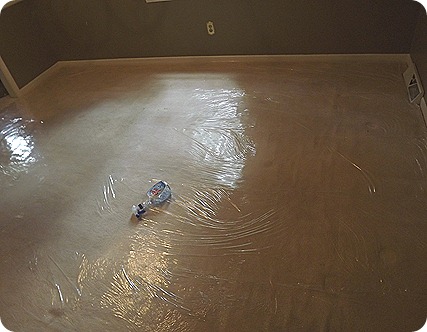
2. I used canvas drop cloths under the areas that I was working on. Then I could pick them up and funnel some (but definitely not all) of the mess into a trash can.
3. Spray the first section of popcorn with water. You want it to get damp, not socking wet. If you get it too wet, then it can cause problems on the drywall underneath. It should start to buckle a little like this after a minute or two:
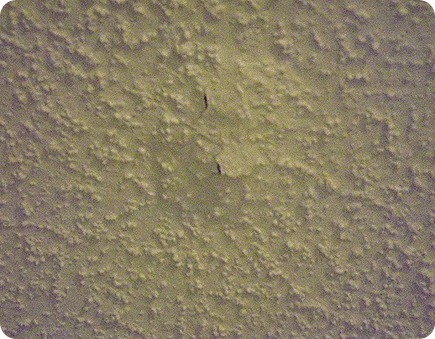
Once that starts, use the putty knife to get underneath. This part is so easy. This much was done in about 5 minutes:
2. You’ll have to work a little harder on the spots that were puttied like nail holes and the dry wall seams. Using the water spray really helps on these spots. The popcorn sticks to the putty much more than the drywall. You’ll be sanding these areas at the end so don’t worry about getting it completely smooth.
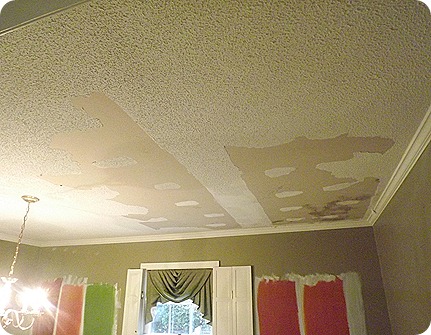
Like my rainbow walls? That’s the myriad of paint colors that I tried out. There are more on the opposite wall.
Here’s the beginnings of the mess. See how it comes off in chunks?
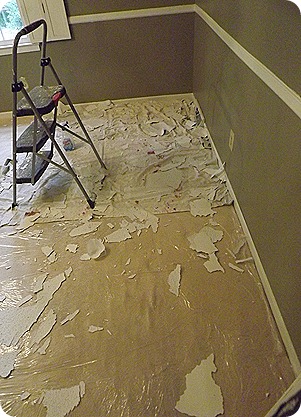
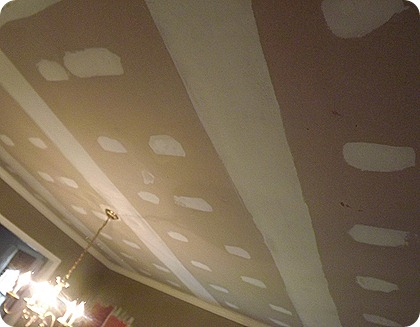
After about 2 hours, the entire room was done (but not sanded):
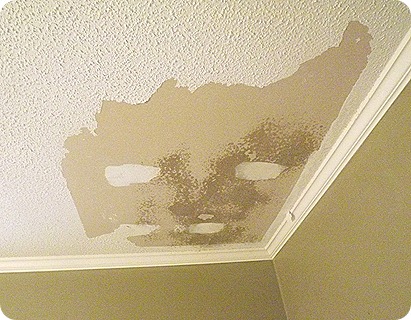
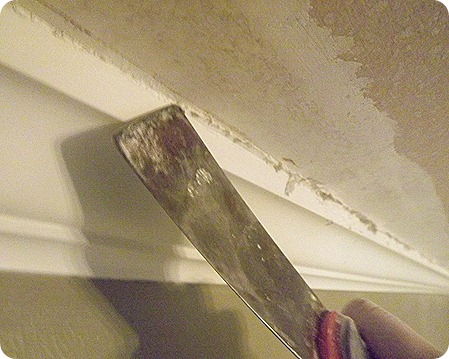
3. If you have crown moulding, the popcorn will go under it so you have to work at the edges to make sure it doesn’t look like this:
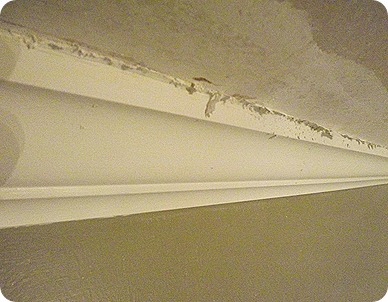
The caulk from the edge of the crown moulding really grabs onto the popcorn. I used the edge of my putty knife to cut through the caulk and then remove the remaining popcorn. Sand along these edges well to remove any smaller pieces that didn’t come off.
4. Sand over each spot that has putty on it. You don’t want to skip this step because it really helps to smooth out the ceiling. Plus, you’ll find lots of spots that still have some popcorn on them. The sanding took me another hour.
Total time: 3 hours! I was pretty happy with that since I really thought it was going to take me the whole weekend. Then prime the ceiling and that’s it! You’re ready to paint.
If you want to remove junks from your house, a junk removal company will help you to remove or dispose of your unused items and equipment.
